

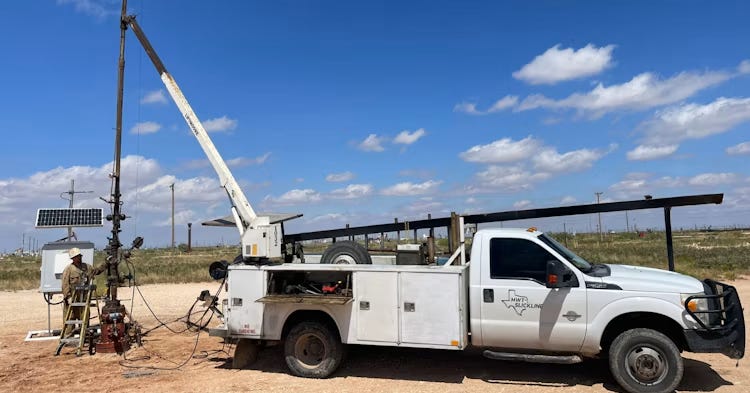
Swabbing a well remains a critical intervention for removing hydrostatic head and stimulating fluid flow from the reservoir. This guide outlines the essential sequence for safely executing the swabbing process to effectively restore production levels.
Step 1: Verify Wellhead and Surface Equipment Integrity
Inspect the surface equipment, including the stuffing box and lubricator, for signs of wear or mechanical fatigue. Confirm that all pressure-rated components are certified for the expected maximum operating pressure. Visible leaks or loose connections during this stage indicate a failure in pre-job preparation.
Step 2: Isolate the Well and Bleed Pressure
Close the master valve to isolate the wellbore from the flow line. Gradually bleed off surface pressure to reach a stable state for rigging up the unit. A failure to reach zero pressure before opening the lubricator suggests an internal seal failure or gas migration.
Step 3: Rig Up the Swabbing Lubricator
Secure the lubricator to the top of the wellhead assembly using industry-standard connections. Ensure the weight indicator is calibrated correctly to monitor line tension throughout the operation. Improper alignment during this setup increases the risk of wireline damage or friction.
Step 4: Perform a Pressure Test
Conduct a formal pressure test on the lubricator and associated lines to confirm integrity. Verify that all gaskets seat properly and the assembly holds pressure without bleeding down. Any drop in pressure indicates a faulty seal that requires immediate correction before line entry.
Step 5: Run the Swab Tool into the Well
Slowly lower the swab tool into the tubing string while monitoring the weight indicator for potential drag. Maintain constant contact with the tubing wall to ensure the swab cups expand correctly. Unexpected weight fluctuations may signal tubing obstructions or collapsed pipe sections.
Step 6: Execute the Swabbing Run
Initiate the upward pull at a controlled rate to lift the fluid column toward the surface. Monitor line tension closely to avoid parting the line due to excessive hydrostatic load. A sudden loss of tension suggests the swab cups have failed or collapsed.
Step 7: Monitor Fluid Returns and Density
Observe the quality and volume of fluid being recovered at the surface flow-back tank. Check for debris or sand content that could indicate formation instability or casing damage. Significant changes in fluid color or density often provide early warnings of a downhole mechanical issue.
Step 8: Secure the Well After Swabbing
Once target fluid levels are achieved, pull the tool back into the lubricator and close the master valve. Disconnect the equipment safely after ensuring the well is fully isolated from the surface. Failure to maintain isolation can lead to uncontrolled flow or environmental spills.
Following this structured sequence ensures consistent results and maintains the integrity of your wellbore assets. Before returning the well to service, verify that all surface valves are properly positioned and that the flow line integrity is fully restored.
Need help finding vendors for your project?
Explore Trunkline’s Top 10 vendor rankings to find companies with the experience and capabilities to get the job done.